Kaltura tools
There are five different tools that you can use within Kaltura. To create a new video, go to My Media > Add New. Below you can read what these five tools mean and how to use them.
1. Media Upload
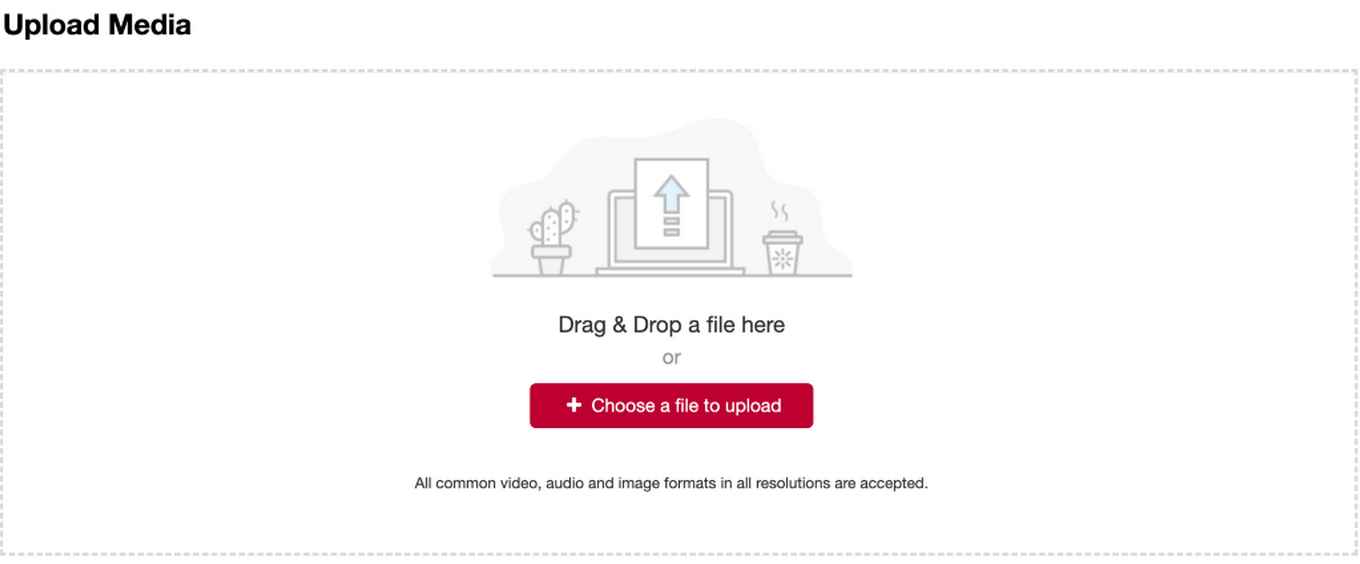
Via Media Upload, you can upload existing files from your computer. You can do this by dragging the file with drag-and-drop or selecting the file you want to upload (click +Choose a file to upload).

2. YouTube
With YouTube, you can import a YouTube video into Kaltura. Simply copy the URL of the YouTube video and paste it into the textbox.

3. Interactive Video
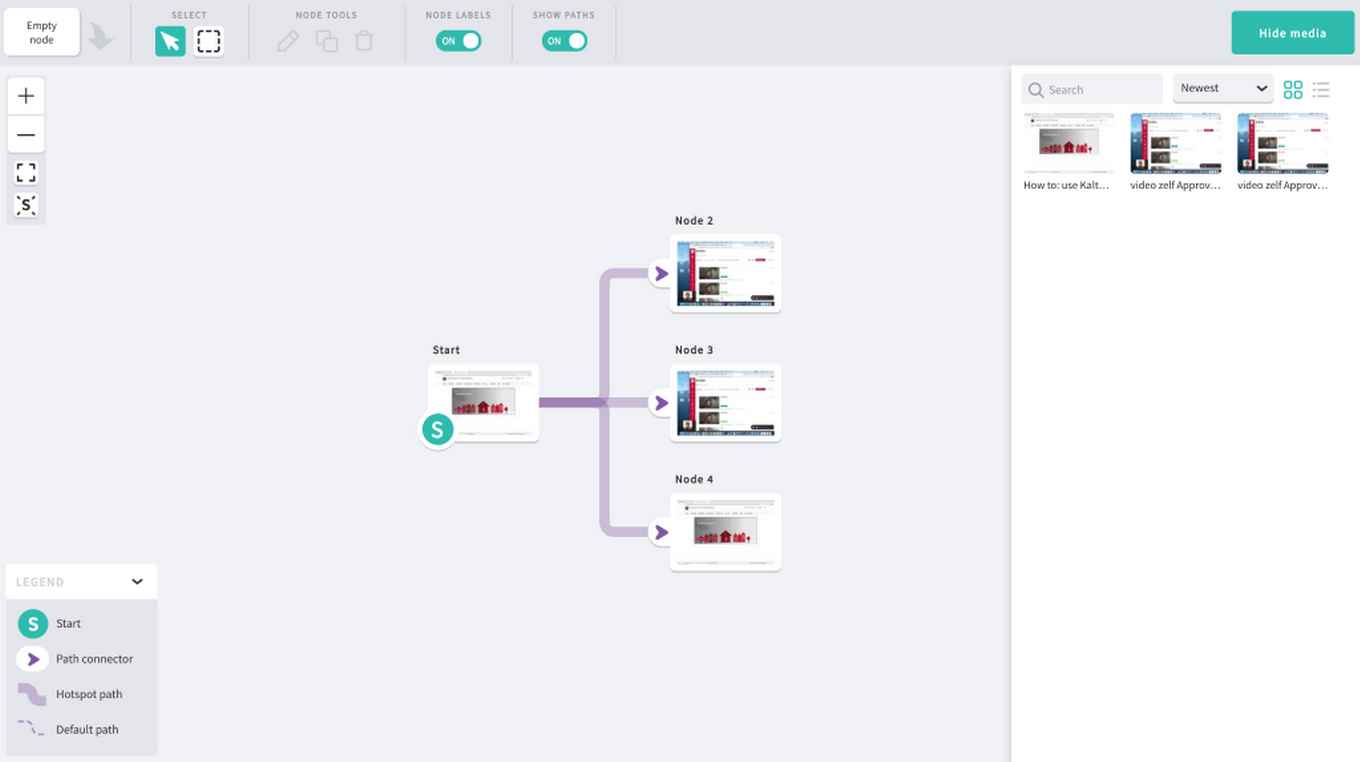
With an Interactive Video, you can let the viewer chose what the next video to be watched will be. This is useful, for example, if the prior knowledge of students is different: you can insert a question whether students already understand topic X, after which the follow-up video depends on whether they have chosen 'yes' or 'no'.

4. Kaltura Capture
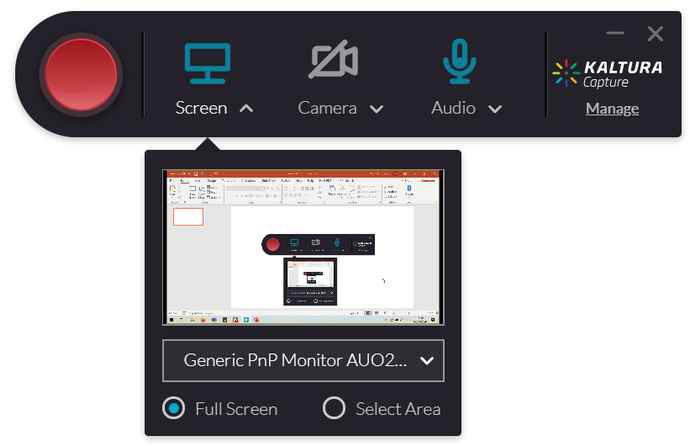
With Kaltura Capture you can record your screen as well as your webcam and audio at the same time. Kaltura Capture is therefore suitable for mini-lectures. Kaltura Capture is an application on your computer. You need to download it the first time you open Kaltura Capture.

5. Video Quiz
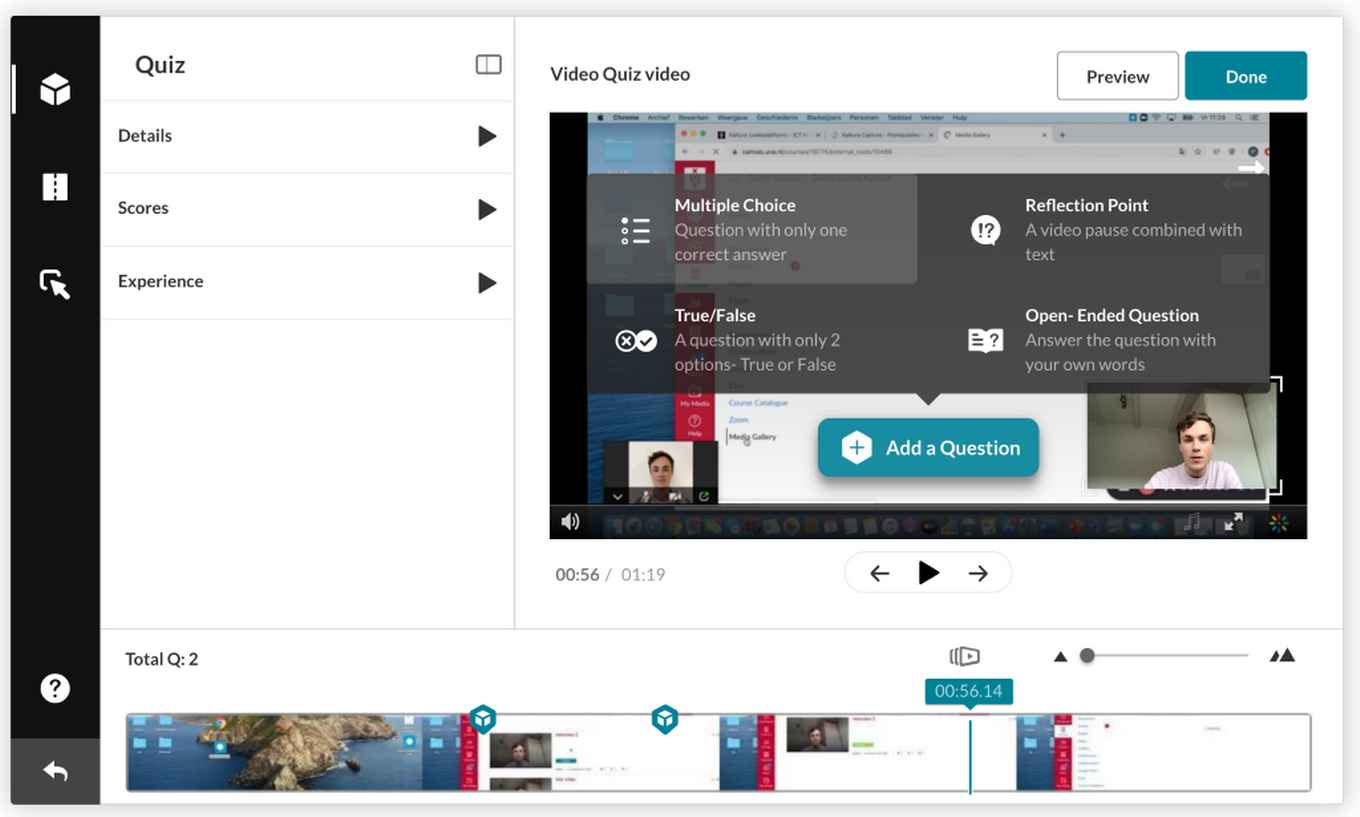
With a Video Quiz, you can add questions to your video. The questions can assist in keeping students alert and involved, but they can also be linked to Gradebook and thus actually assessed (if you create the Video Quiz within Canvas). You can read how this works on the page with explanation about the use of Video Quiz linked below.
